Basic Guide to AI Text Generation with GPT-Neo
GPT-Neo is an open source implementation of GPT, a language model designed to generate human like text. GPT-Neo is no longer in development and has been largely superseded by more advanced models but it still has some advantages, mainly that it’s not a very large model and can run on consumer hardware. GPT-Neo functions like most other language models and the setup and Python needed to run it can be easily adapted to other, larger models with few modifications. Because it is open source the full model can be run locally with no limitations, complete control over how it functions, and relying on no external service.
This guide is a very quick guide to getting GPT-Neo up and running and generating text by completing sentences. The guide uses Linux but should work almost identically on any other OS.
Part 1: Environment Setup
Have miniconda and CUDA installed.
How you do this depends on your distro/OS. I do not think this works with CUDA 12 yet (and I know for a fact a lot of other AI stuff doesn’t.) PyTorch only has install instructions for up to CUDA 11.7, so look up how to install specifically CUDA 11.7 on your distro. For some this can be tricky, if you have dependency issues (I know the latest version of Ubuntu does) you may have to install CUDA using the runfile version. If using the runfile do not use it to install the nvidia gpu driver with it, it will probably fail and you don’t really want that anyway, you want the version from your distro. Make sure you’re using an up to date version of the proprietary driver, though.
https://docs.conda.io/en/latest/miniconda.html
https://developer.nvidia.com/cuda-11-7-0-download-archive
Start a miniconda prompt and create an environment. It’s not entirely necessary to do this in a miniconda environment, but doing it otherwise might leave you with a version of some of the libraries that work here with GPT-Neo, but not GPT2 or other stuff you might want to do.
From the terminal (or the Anaconda Prompt in Windows);
create the environment
conda create -n gptneoactivate environment
conda activate gptneo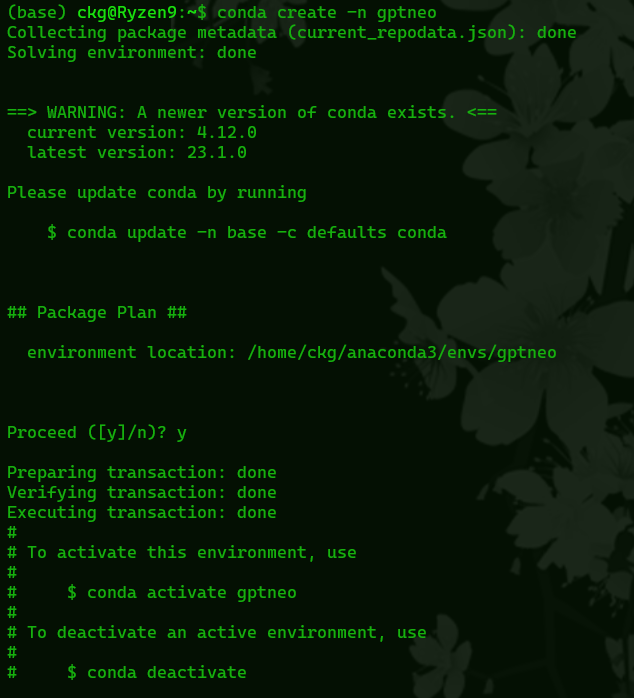
Part 2: Install Dependencies
PyTorch
From http://pytorch.org, copy and run the install command for your setup, for Linux in conda for the stable pytorch on CUDA 11.7 (nvidia gpu) I’m using
conda install pytorch torchvision torchaudio pytorch-cuda=11.7 -c pytorch -c nvidia
Transformers
conda install -c conda-forge transformers
Part 3: Python Script
You can download my python script for running GPT-Neo here
Put the script somewhere in its own directory and move over to that directory, as we’ll be running it soon.
This is the entirety of the script;
import torch
from transformers import GPTNeoForCausalLM, GPT2Tokenizer

device = "cuda:0" if torch.cuda.is_available() else "cpu"
print(f'Using device {device}')

model = GPTNeoForCausalLM.from_pretrained("EleutherAI/gpt-neo-2.7B").half().to(device)
tokenizer = GPT2Tokenizer.from_pretrained("EleutherAI/gpt-neo-2.7B")
input = input("prompt: ")
input_ids = tokenizer(input, return_tensors="pt").input_ids.to(device)

num_new_tokens = 500
temperature = 0.95
TOP_P = 0.9
repetition_penalty = 3.0

gen_tokens = model.generate(
                input_ids,
                do_sample=True,
                temperature=temperature,
                repetition_penalty=repetition_penalty,
                top_p=TOP_P,
                max_new_tokens=num_new_tokens,
                pad_token_id=tokenizer.eos_token_id
            )

print(tokenizer.batch_decode(gen_tokens)[0])
This script does a few things
First it’s importing the libraries we need, basic python stuff, and then the lines;
device = "cuda:0" if torch.cuda.is_available() else "cpu"
print(f'Using device {device}')
just check if we can use the GPU or not, and then prints what it’s using. If everything is working correctly and you’re using an nvidia gpu it should say “Using Device cuda:0” when you run the script. If not, it will use the cpu but it will be much slower and likely something is wrong.
The next lines load the model we’re going to be using. The included model is the larger gpt-neo model with 2.7 billion parameters. It will automatically download this model the first time it runs which will take a while because it’s quite large.
You can change it to “EleutherAI/gpt-neo-1.3B” here to download and use the smaller model instead. That one will run faster and use less ram/vram but, being smaller the results might not be as good.
You can actually change this to a lot of different models, it mostly works with GPT-J and the bloomz models too. Just, the rest of the script may need some changing too because those models don’t exactly behave the same way.
input = input(“prompt: “) is just asking for your input. This input is what we’re going to send to the AI. The way this works here is we’re sending text we want the AI to “complete”, so whatever we type the AI will use to keep going. If we input “the capital of America is” the AI will then start with that and say (with low temperature and top_p values) “the capital of America is Washington D.C.” for example.
Next we set some variables for how the model is going to create text
“num_new_tokens = 500” – This roughly corresponds to how long the generated output will be. If we set this to a small number the AI will just give us a short response. If we set it to a large number it could give us pages. It’s not a guarantee, the AI may decide to just stop writing even with a large number set here.
“temperature = 0.95” – Temperature controls how much randomness we allow in the generated output. This is set from 0 – 1. Low values give very obvious and expected answers. For example, if you ask it to finish the sentence “I am a” it will probably say “I am a boy” or something simple like that. High values let it be creative and it may finish the sentence with a rambling “I am a giraffe because I reach for the stars” and then just keep going with whatever it feels like writing.
“TOP_P = 0.9” – This determines which tokens it will consider returning as part of the answer based on how probable they are when predicting the next word. If it has “I am a” then it will say “boy is a very probable word” but pair is less probable.” Maybe “boy” is in the top 10% of probable words, but “pair” is in the top 85%. If this is set to 0.2, it will consider “boy” but it wont consider “pair” as its determined it to be “not probably enough.”
“repetition_penalty = 3.0” – It’s exactly what it says, how much you want it to avoid repeating itself. If this isn’t set the AI will often get stuck in a loop repeating itself over and over.
Part 4: Run the GPT-Neo Python Script
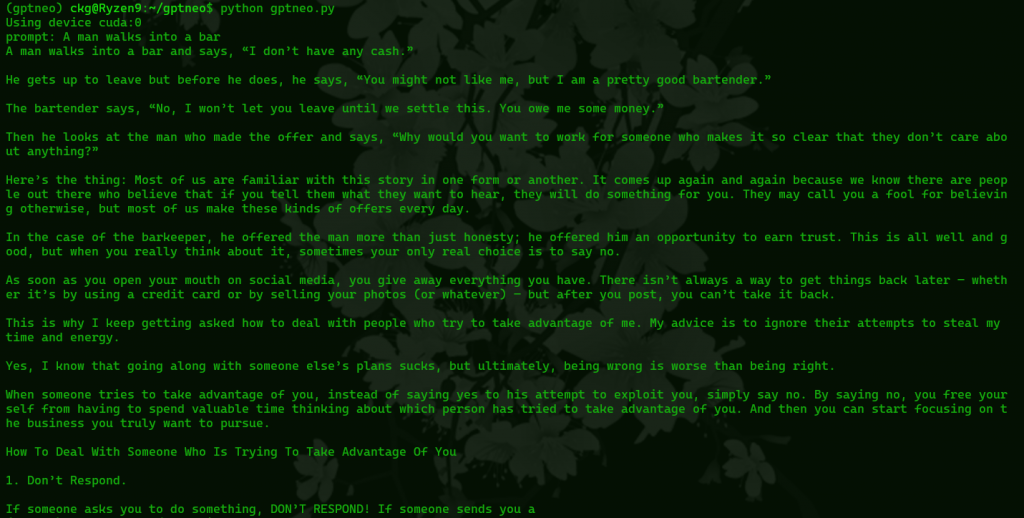
python gptneo.pyFirst it tells us if we’re using our gpu. “Using device cuda:0” means everything is good. If you intend to run it on your cpu because that’s all you have and it says “using device cpu” that’s also good but will be slower.
Next, as said before, it will automatically download the model it’s told to use. You wont have to do this every time. You only have to do this when using a different model for the first time.
It should automatically download the gpt-neo-2.7B, you can download the other models by changing the lines;
model = GPTNeoForCausalLM.from_pretrained("EleutherAI/gpt-neo-2.7B")
tokenizer = GPT2Tokenizer.from_pretrained("EleutherAI/gpt-neo-2.7B")
After this is installed, it will load the model into ram, this might take a while depending on your hardware but just let it be until you see
prompt:Here we type in our prompt that we’re gonna send to the AI, give it whatever you want, press enter, and wait a little longer and hopefully you’ll get a big wall of AI generated text.
If you want to stop the conda environment and go back to a normal prompt
conda deactiveIf you want to use it again, reactivate the conda environment
conda activate gptneoThat’s it, from here you should have a working, basic interface for GPT-Neo, from here you can modify it further to work with other models, build a web UI with gradio, modify the script further to do other tasks besides text completion, or whatever you want.
Leave a Reply